

How to Wire Trailer Plug:
2nd Feb 2026
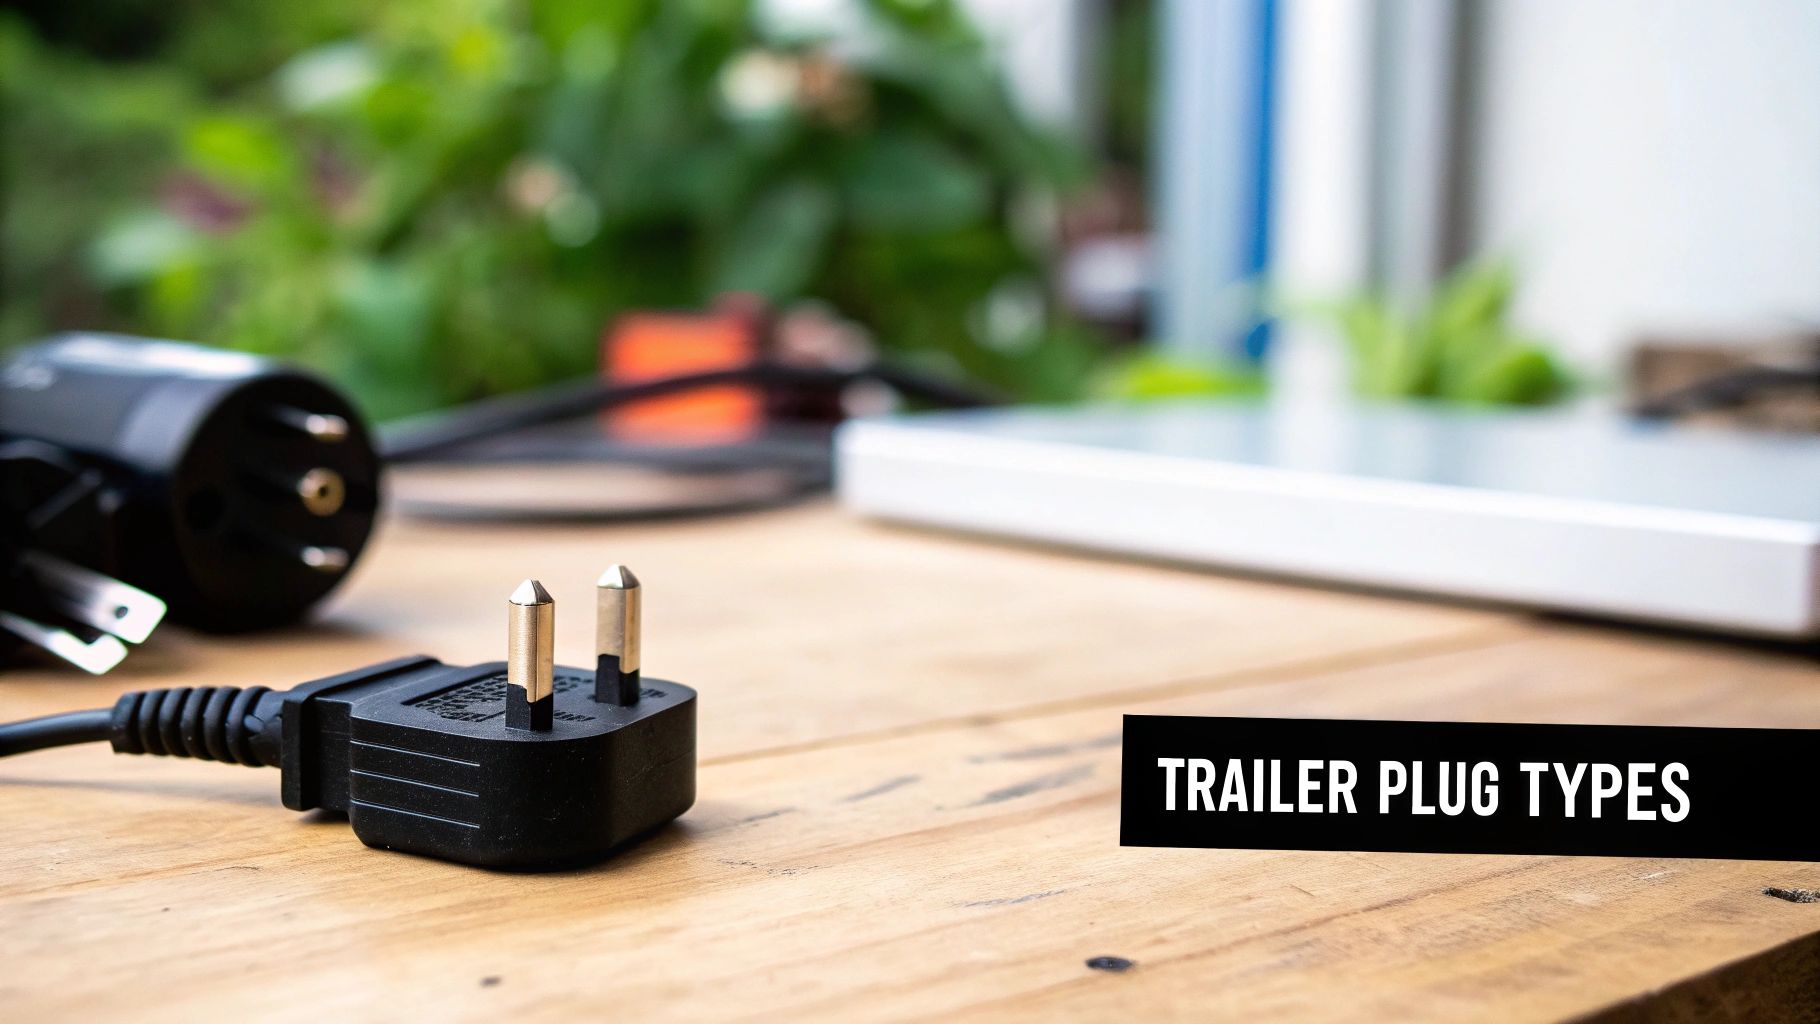
How to Wire Trailer Plug: The Complete Australian DIY Guide
Wiring a trailer plug isn't black magic. At its core, it's a simple job of matching coloured wires to the right pins. The real trick is knowing the standard Australian colour code and making sure every connection—from your indicators to your brake lights—is rock-solid. Get that right, and you'll be able to tackle any plug repair or replacement with confidence.
Getting to Grips with Australian Trailer Plugs
If you're learning how to wire a trailer plug in Australia, the first thing you need to know is that we do things a little differently here. We have our own specific plug types and wiring conventions that are non-negotiable for safety and staying on the right side of the law.
A botched wiring job can cause all sorts of headaches, from lights that don't work to brake failures or even frying your car's electrical system. This isn't just about connecting a few wires; it’s about creating a safe, reliable link between your car and your caravan.
This single connection is the lifeline for your entire rig. A properly wired plug makes sure your indicators and brake lights work every time, but it often does much more. For many of us, it’s also running the fridge, charging the house batteries, and powering all the comforts of home while we're on the road.
Why Your 12V System Depends on a Good Connection
A stable 12V electrical system is the heart of any modern caravan setup, and it all starts at the trailer plug. It's the backbone that keeps everything running smoothly for a safe and comfortable trip.
Think about the gear you rely on:
- A caravan water filter system needs consistent power to its pump to deliver clean drinking water.
- An advanced UV Steriliser needs stable voltage to properly purify your water supply when you're off-grid.
Even a small voltage drop or a dodgy connection from a poorly wired plug can cause these critical devices to fail. Getting the plug wired correctly from the get-go is the first step to ensuring every component gets the clean power it needs to work as it should. It’s about peace of mind when you’re miles from anywhere.
I see it all the time—people underestimate the humble trailer plug. It’s not just for the lights. It's the main power gateway for your entire touring setup, and it affects everything from safety on the road to comfort at the campsite.
Australia has its own unique standards for trailer wiring. Most light trailers under 4.5 tonnes, which covers the vast majority of caravans, run on 12V systems. The 7-pin flat connector has become the go-to for basic lighting functions.
These specifications were locked in under AS 4177.5-2004, which outlines the standards for electrical connectors on trailers up to 3.5 tonnes. It’s worth checking out a quick reference guide on Australian trailer wiring standards to get familiar with the details. A little homework before you pick up the tools will make the whole job go a lot smoother.
Getting Your Tools and Materials Sorted
A top-notch wiring job is all about preparation. Before you even touch a wire on your trailer plug, getting your tools and materials laid out will make the whole process smoother and safer. Trust me, having the right gear is the difference between a rock-solid connection that'll last for years and one that gives up the ghost on a corrugated track hundreds of k's from anywhere.
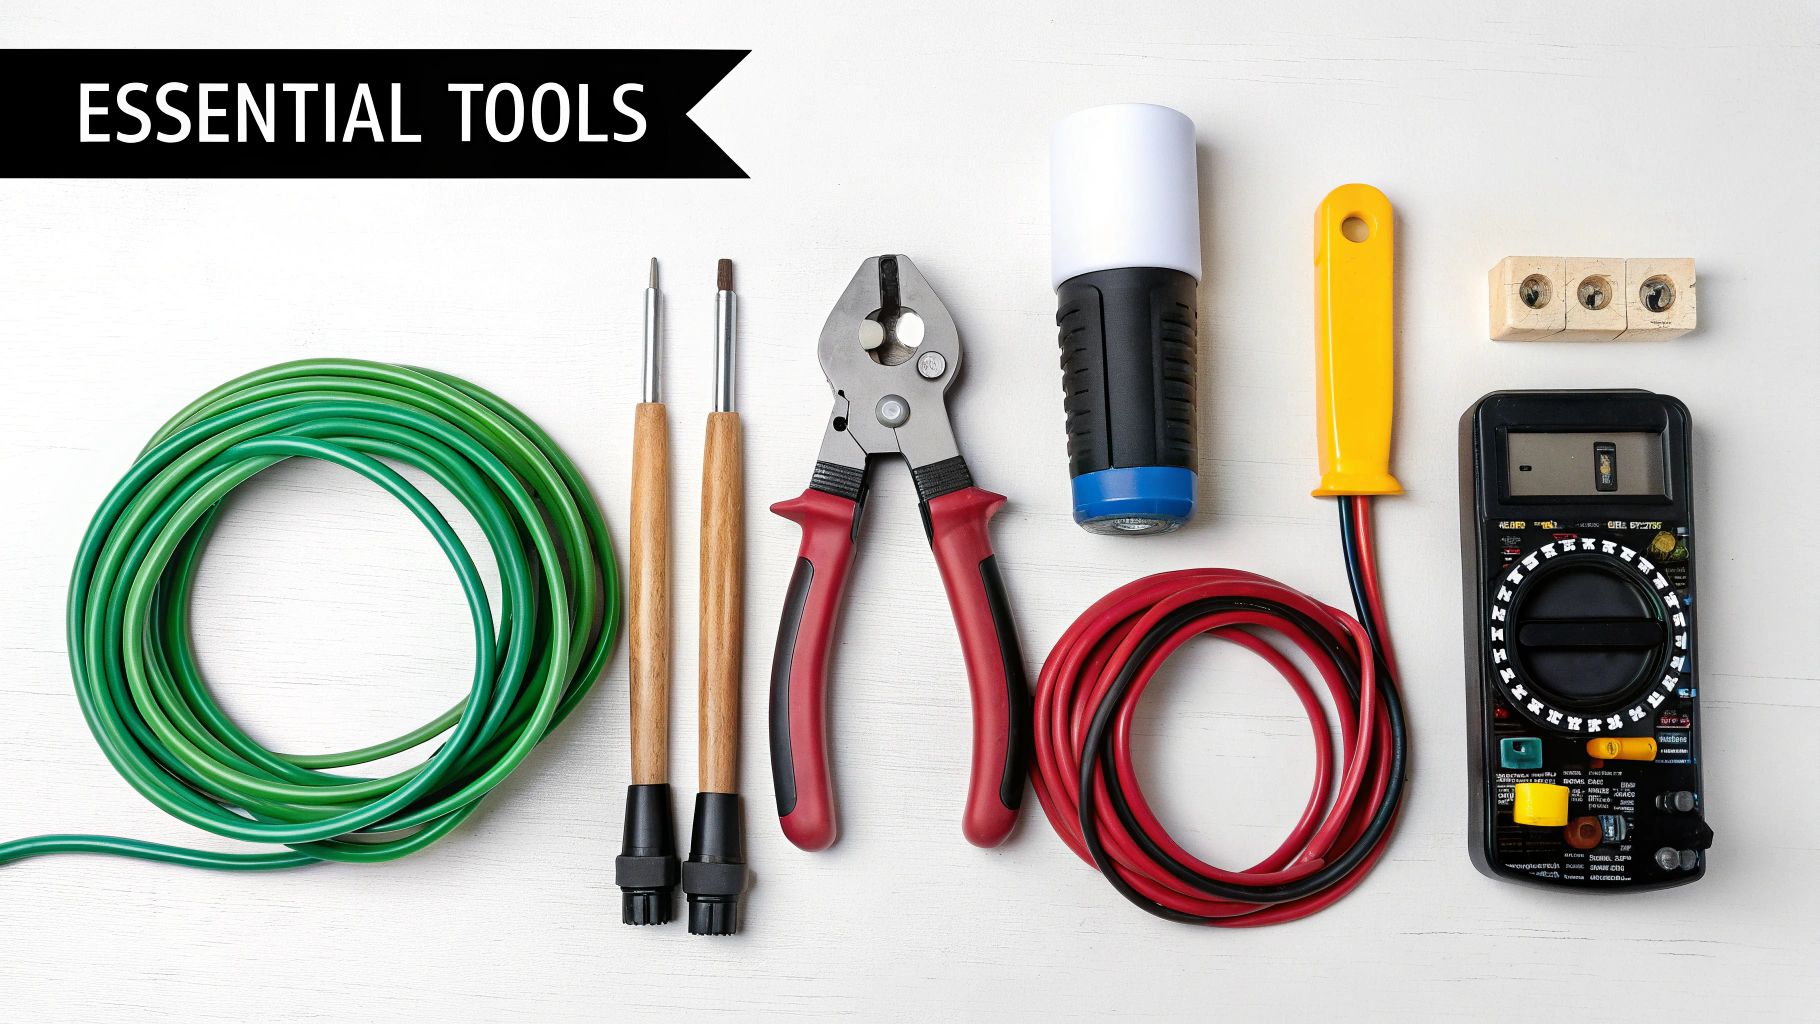
This is more than just grabbing a screwdriver and a roll of electrical tape. You really need specific tools designed for 12V work to get those connections clean, secure, and properly weatherproofed. The right setup saves a lot of swearing and makes sure the job is done right the first time.
The Core Toolkit for Trailer Wiring
For any trailer plug job, there’s a handful of tools I'd consider non-negotiable. You want them all within arm's reach. Each one has a specific role in creating a bulletproof link between your tow vehicle and caravan.
Here’s your essential checklist:
- Wire Strippers and Cutters: A proper wire stripper is a must-have. It cleanly removes the insulation without nicking the copper strands inside, which can weaken the wire and create a future breaking point.
- Quality Crimping Tool: A good ratchet-style crimper is worlds better than trying to squeeze terminals with a pair of pliers. It gives you even, consistent pressure for a connection that’s both mechanically strong and electrically sound.
- Multimeter: This is your best mate for testing. It lets you confirm you've got continuity, check for the correct voltage on each pin, and track down any gremlins if things aren't working.
- Heat Gun: You need this for shrinking heat shrink tubing properly. It seals your connections against moisture and adds much-needed strain relief. A hairdryer just won’t cut it – it doesn't get hot enough for a proper seal.
- Basic Hand Tools: A good set of screwdrivers (both Phillips head and flathead) and a couple of pairs of pliers (long-nose and standard) are always handy for taking the plug apart and guiding wires into place.
Materials for a Weatherproof Connection
The tools are half the battle; the materials you choose are just as crucial for a long-lasting job, especially with the harsh conditions we see in Australia. Cheaping out here is a fast track to corrosion and electrical headaches down the road.
A stable 12V system, built on quality wiring and materials, is the backbone of your whole setup. Dodgy connections create intermittent faults that are an absolute nightmare to diagnose when you're out on the road.
Your shopping list for materials should obviously include the new trailer plug, along with high-quality trailer cable with the right number of cores for your setup. You'll also need a pack of insulated crimp terminals (lugs or pins) that match your wire gauge.
Now for the secret weapon for a truly durable job: glue-lined heat shrink tubing. This stuff has an inner layer of adhesive that melts as it shrinks, creating a completely waterproof seal around the wire and terminal. It’s the single best thing you can do for protection against water, dust, and vibration. That level of reliability is critical for keeping consistent power flowing to sensitive gear, like a high-flow caravan water filter or a UV Steriliser, which need a clean power supply to work properly. A solid connection means your gear will fire up when you need it most.
Making Sense of Australian Trailer Wiring Diagrams
The secret to wiring a trailer plug isn't some black art; it's just about following the map. Luckily, Australian standards have done the hard work for us, assigning a specific colour and pin for every electrical function. Once you get your head around this system, the physical job of connecting the wires is surprisingly simple.
Think of this colour code as the language your car uses to speak to your trailer. It's what makes sure your left indicator flashes when you signal left, and your brake lights pop on the instant you hit the pedal. Getting this right isn't just a good idea—it's absolutely critical for safety and staying on the right side of the law.
The Standard Australian Colour Code
While you’ll see a few different plug styles out there, the wire colours themselves are thankfully consistent across Australia. My best advice? Either memorise the main ones or keep a chart handy in your workshop. It’s the single most useful tool you'll have for any 12V wiring job.
This consistency is what saves us from chaos. You really don't want the signal for your reverse lights accidentally triggering your caravan's electric brakes. Sticking to the standard is how we prevent those dangerous—and potentially expensive—mix-ups.
Your trailer’s wiring is basically its nervous system. One crossed wire can throw everything into disarray, from your brake lights to the crucial auxiliary power that keeps your gear running.
A clean, stable power supply is about more than just lights. It's about making sure your accessories get the power they need to work properly. For example, the pump for a caravan water filter or a UV Steriliser needs a consistent voltage to do its job. A dodgy wiring job can lead to poor performance or even fry these sensitive components, leaving you without clean drinking water when you're miles from anywhere.
Common Plugs: The 7-Pin and 12-Pin Flat
Out on the road, you'll almost always run into one of two plugs: the 7-pin flat and the 12-pin flat. The 7-pin is the workhorse, handling all the essential lighting functions legally required to be on the road. The 12-pin is the upgrade, including those same seven connections plus five beefier pins for running auxiliary power.
Here’s a quick look at the standard 7-pin flat setup:
- Pin 1 (Yellow): Left-Hand Indicator
- Pin 2 (Black): Reversing Light
- Pin 3 (White): Earth Return (Ground)
- Pin 4 (Green): Right-Hand Indicator
- Pin 5 (Blue): Electric Brakes
- Pin 6 (Red): Stop Lights
- Pin 7 (Brown): Tail, Clearance, and Side Marker Lights
The beauty of the 12-pin plug is that it simply adds pins 8 through 12, which are typically used for things like charging a house battery, powering a fridge, or running other high-draw accessories. The system is also cleverly designed to be backward compatible, meaning a 7-pin plug from your trailer will slot into a 12-pin socket on your car and work perfectly.
To make things crystal clear, here’s a quick-reference table covering the full 12-pin layout.
Australian 12-Pin Flat Trailer Plug Wiring Colour Code
This table is your go-to guide for the standard wire colours and their functions for the most common Australian trailer plugs, based on the AS 4177.5-2004 standard. Keep it handy!
| Pin Number | Wire Colour | Function |
|---|---|---|
| 1 | Yellow | Left-Hand Indicator |
| 2 | Black | Reversing Light |
| 3 | White | Earth Return (Ground) |
| 4 | Green | Right-Hand Indicator |
| 5 | Blue | Electric Trailer Brakes |
| 6 | Red | Stop Lights |
| 7 | Brown | Tail, Clearance, and Side Marker Lights |
| 8 | Orange | Battery Charger / Electric Winch |
| 9 | Pink | Auxiliary Power / Fridge |
| 10 | Grey | Ignition / CAN-Bus |
| 11 | Light Green | Rear Fog Lamp |
| 12 | Violet | Spare / Auxiliary |
Having this chart printed out or saved on your phone can save you a world of headaches when you're crouched under a trailer trying to remember what goes where.
State-Specific Variations You Might See
While the flat plug is king these days, don't be surprised if you come across some regional quirks, especially on older trailers. The world of Australian trailer connectors has a few different plug types floating around. For instance, some older setups in Queensland might use a Small 7-pin Round connector, while you could see a Large 7-pin Round variant in Victoria.
You can read more about the different Australian trailer connectors if you’re curious about the history, but for any modern caravan or camper trailer, knowing the 7 and 12-pin flat plugs will have you covered in 99% of situations.
Getting Hands-On with the Trailer Plug Wiring
Alright, with the diagrams understood and your tools laid out, it's time to get your hands dirty. This is where the theory meets the real world. Taking your time here to make clean, solid connections will save you a world of headaches down the track. A bit of patience now ensures every light, from your indicators to your brake lights, works exactly as it should.
Your first move is to prep the main trailer cable. You’ll need to carefully strip back the tough outer plastic sheath to reveal the smaller, colour-coded wires inside. A sharp utility knife is the go-to tool for this, but go easy—just score the sheath lightly. If you cut too deep, you risk slicing into the insulation of the wires underneath, which is the last thing you want. Aim to expose about 50-70mm of the internal wires to give yourself enough room to work.
Prepping Each Wire for Connection
Once the main cable is opened up, you need to strip a small bit of insulation off the end of each individual wire. This is a delicate job, and a good pair of wire strippers is non-negotiable. They’ll let you remove about 8-10mm of insulation cleanly without nicking or breaking any of the fine copper strands inside. A clean strip is the foundation of a solid electrical connection.
Now for the big decision: are you going to solder or crimp the wires to the pins in the plug?
The Great Debate: To Solder or to Crimp?
Ask ten people in the 12V scene, and you might get ten different answers. Both methods have their die-hard fans and for good reason. Soldering creates a fantastic, low-resistance electrical bond that’s second to none. The catch? The solder makes the wire stiff right at the join, creating a potential weak point that can snap after copping thousands of vibrations on corrugated roads.
Crimping, on the other hand, creates a connection that's both electrically solid and mechanically flexible, if you use a quality ratchet crimper and the correct terminals. For a touring setup that’s going to see the rough stuff Australia is famous for, a good crimp is often the more reliable choice.
For any rig that’s going to spend time on rough tracks, a high-quality crimp is your best bet. It’s a durable, field-serviceable connection that stands up to vibration far better over the long haul.
Whichever way you go, the end goal is a secure connection that won't pull loose. Give each wire a firm but gentle tug after you've attached it to its pin. It's a simple check, but it's one of the most effective ways to spot a dud connection before it causes problems.
Weatherproofing and Strain Relief: Don't Skip This
Just connecting the wires and calling it a day is a recipe for disaster. You have to protect your handiwork from the elements. Moisture and dust are the arch-enemies of any 12V system, leading to corrosion, intermittent faults, and eventually, total failure. This is where weatherproofing and strain relief come in.
Making sure your connections can survive water crossings and dusty outback highways is crucial. The infographic below shows the common Australian plug types you'll be working to seal up.
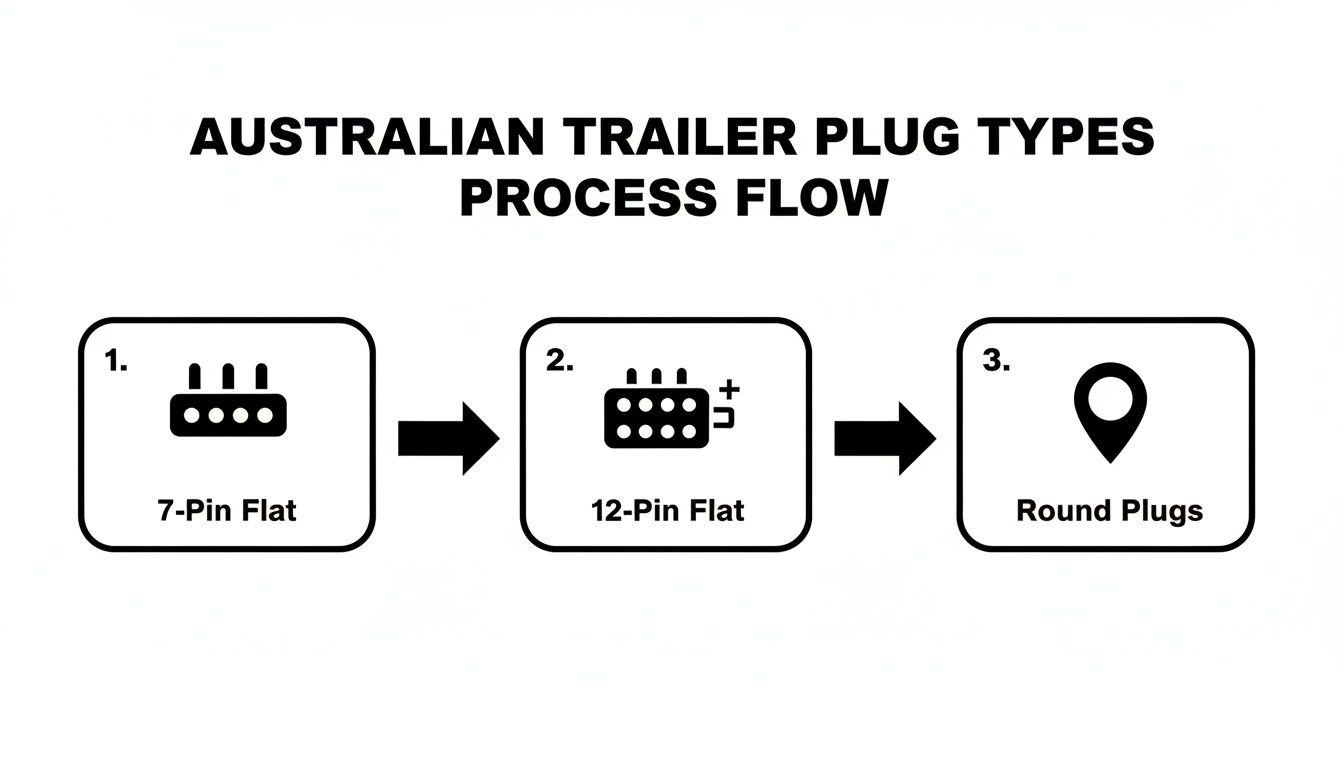
This really shows the evolution of trailer plugs in Australia, from the basic 7-pin flat to the more capable 12-pin and other common round plugs you'll see on the road.
The absolute best way to weatherproof your connections is with glue-lined heat shrink. This stuff is brilliant. It has an adhesive on the inside that melts when you heat it, creating a completely waterproof seal around the terminal. Use a heat gun to shrink it down evenly until you see a little bit of glue ooze out the ends—that's how you know you've got a perfect seal. This kind of robust protection is especially important for keeping a clean power supply to sensitive gear like a caravan water filter or a UV Steriliser, which need uninterrupted current to work properly.
Remember, Australian trailer wiring adheres to the 12-pin flat plug and socket standard AS4177.5-2004. The colours are consistent: yellow for the left turn signal, green for the right, black for reverse, and the all-important white for the earth/ground. You can learn more about these Australian trailer plug wiring standards to make sure you're fully compliant.
Finally, don't forget strain relief. Make sure the main cable is clamped securely where it enters the back of the plug. This stops the cable from being pulled and putting stress on your carefully made connections inside. It’s a simple final step, but it’s what prevents a stray branch on a tight track from ripping your wiring apart.
Testing Your Connections and Troubleshooting Issues
Alright, you’ve got the plug wired up. Don’t be tempted to call it a day just yet—the job’s only half done. Before you even think about hitting the road, a full function test is absolutely non-negotiable. This is your final quality check, and honestly, it’s the most important step for making sure your rig is safe and legal.
A few minutes spent testing now will save you from a massive headache on the side of the highway or, worse, a dangerous situation. We’re just making sure that every single function on the trailer, from the indicators to the electric brakes, is getting the right signal from your tow vehicle. It’s the final confirmation that your hard work paid off and every wire is exactly where it should be.
Performing a Full Function Check
You don’t need any fancy gear for this. The simplest way is to hook the trailer up, turn the car's ignition on, and grab a mate to stand at the back of the trailer and call out what they see as you run through the lights.
This systematic check is your best friend. Here’s the sequence I always follow, no exceptions:
- Tail Lights: First, switch on your vehicle's headlights. All the tail lights and clearance lights on the trailer should pop on.
- Brake Lights: With the lights still on, hit the brake pedal. The brake lights should blaze brightly.
- Indicators: Now, check the left and right indicators one at a time. Double-check the correct side is flashing.
- Reverse Lights: If you've wired them up, chuck the car in reverse. The reversing lights on the trailer should activate.
- Electric Brakes: For trailers with electric brakes, you should hear a faint hum or a distinct click from the trailer wheels when you manually activate the brake controller in the cab.
Common Troubleshooting Scenarios
Even when you’re careful, things can go wrong. If a light isn't working or is acting up, don't panic. The problem is almost always one of a few usual suspects. The trick is to trace the fault logically, starting with the simplest explanation first.
Scenario 1: One Specific Light Isn't Working If it’s just the left indicator or a single tail light that’s out, the problem is likely isolated to that one circuit. The first thing to check is the bulb in the light fitting itself—it's often the culprit. If the bulb’s good, grab a multimeter and check for voltage at the back of the light. No voltage there points to a break in the wire somewhere between the plug and that light.
Scenario 2: One Entire Side is Out When all the lights on one side go down (e.g., the right indicator and right tail light), it points to a single point of failure. This is often a bad connection for that side’s main wire—the green wire for the right side or the yellow wire for the left—right inside the trailer plug you just wired.
By far the most common cause of trailer light issues is a bad earth connection. If you're seeing flickering lights or multiple failures at once, the white earth wire is the very first place you should look. Make sure it has a clean, tight connection to the trailer chassis.
Scenario 3: Flickering or Dim Lights Flickering is the classic sign of a dodgy earth. The white wire needs a clean, solid connection to bare metal on the trailer's frame. Any rust, paint, or grease will create resistance and cause all sorts of gremlins to pop up.
This isn't just about lights, either. An inconsistent power supply can wreak havoc on your caravan's 12V accessories. For instance, sensitive gear like the pump for a caravan water filter or a UV Steriliser needs stable voltage to work properly. A bad earth can cause these essential systems to underperform or fail altogether, so getting it right is crucial for more than just staying legal.
Common Questions on Trailer Plug Wiring
Getting your hands dirty with trailer wiring is a great skill to have, but it's natural to hit a snag or two along the way. Let's run through some of the most common questions we hear from fellow Aussie travellers, so you can finish the job like a pro.
What's The Real Difference Between a 7-Pin and 12-Pin Plug?
This one comes up all the time, and it really boils down to one thing: power. A standard 7-pin flat plug has everything you need to meet legal lighting requirements—indicators, brake lights, tail lights, and usually a reverse light. It gets the basic job done perfectly.
A 12-pin plug, on the other hand, is built for modern caravans. It has the same seven pins for lights, but adds five bigger pins for beefy auxiliary power. These are essential for running the gear that makes a caravan a home away from home.
Think of things like:
- Charging your caravan’s house battery system as you drive.
- Keeping a 12V compressor fridge running cold.
- Powering up other onboard electronics.
So, if you're just towing a simple box trailer, a 7-pin is all you need. But for any caravan or camper with its own battery or a fridge, a 12-pin setup is non-negotiable. The good news is they're backward-compatible; you can plug a 7-pin trailer into a 12-pin socket on your car, and the lights will work just fine.
Why Are My Trailer Lights Flickering or So Dim?
Nine times out of ten, flickering or dim lights point to a bad earth connection. That white wire (Pin 3) is your earth, and it needs a rock-solid, clean connection to the trailer's chassis to complete every single circuit properly.
A dodgy earth is the number one cause of electrical gremlins on trailers. Before you waste hours chasing wires or swapping bulbs, always check your earth connection first. It'll save you a massive headache.
Make sure the earth terminal is clean and tight. Crucially, check where it bolts to the chassis—it must be on bare, shiny metal. Any paint, rust, or grime will create resistance and cause all sorts of strange issues. Don't be afraid to get in there with some sandpaper to clean it up. A reliable earth is also vital for getting stable power to sensitive accessories like a high-flow caravan water filter or a UV Steriliser, which won't work correctly with a fluctuating voltage.
Should I Solder or Crimp the Wires?
Ah, the great workshop debate! Soldering gives you a fantastic electrical connection with almost zero resistance. The trade-off? It can make the copper wire brittle right at the edge of the solder joint. This creates a weak spot that can easily snap from the constant vibrations you get on rough Aussie roads.
Crimping, when you do it right with a quality ratchet crimper and the correct terminals, gives you the best of both worlds. It creates a connection that's not only electrically sound but also mechanically strong and flexible. It handles vibrations far better, which is why it’s the go-to method for most off-road and touring setups. It’s also a lot easier to fix on the side of the road if you ever need to.
At VP Design, we know a bulletproof 12V system is the foundation of every memorable trip. From tough Anderson plug mounts to full power solutions, we stock the high-quality gear needed to build a setup that won't let you down in harsh Australian conditions. Check out our range of caravan accessories and get your rig ready for adventure.